Best Camera Setting For Blurred Background
You’re eager to perfect your photography skills and want to master the art of capturing photos with a beautifully blurred background. You’ve come to the right place! We’ll guide you through understanding aperture, shutter speed, distance, and more.
Don’t worry if it sounds complicated; we’ve got some simple tricks up our sleeve that you can use immediately.
Let’s dive in and turn your good shots into great ones!
- Understanding the Concept of Blurred Background
- The Role of Aperture in Achieving Blurred Background
- The Impact of Shutter Speed on Background Blur
- How Distance Affects the Degree of Blur
- Best Bokeh for Blurred Backgrounds
- The Role of Lens Selection in Background Blur
- Importance of Manual Mode for Capturing Blurred Backgrounds
- Tricks to Enhance Background Blur Using Lighting
- Post-Processing Techniques for Enhancing Background Blur
- Practical Examples and Exercises for Perfecting Blurred Backgrounds
- Conclusion
Understanding the Concept of Blurred Background
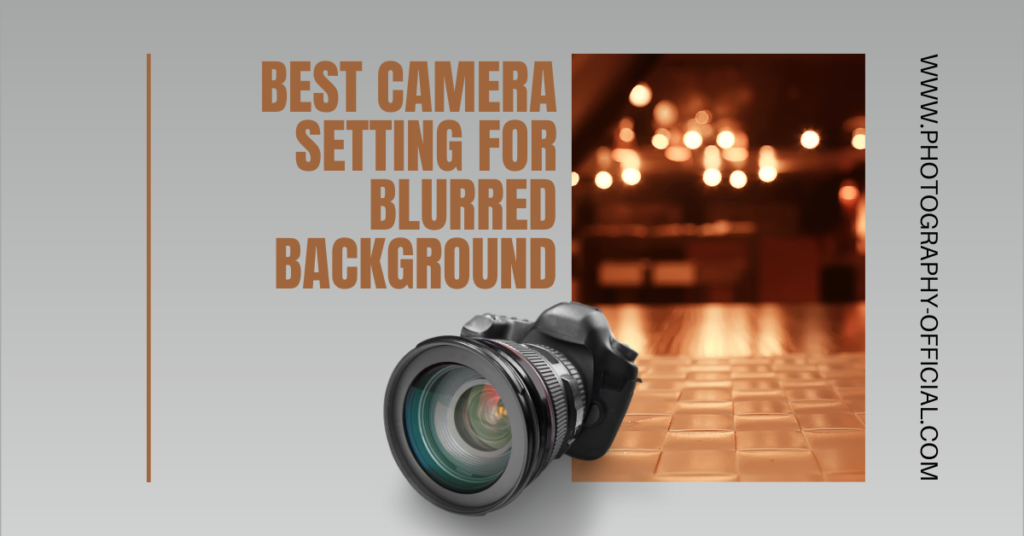
Let’s delve into the concept of blurred background, also known as ‘bokeh’, which is key in producing professional-looking photos. You’ve probably seen it before – the subject of a picture is clear and crisp while everything else around it seems to melt into a soft blur. That’s bokeh in action! But how do you achieve this effect? What camera setting blurs the background?
The answer lies in understanding your camera settings for blurred backgrounds and depth of field (DoF). By manipulating DoF, you can isolate your subject from the rest of the scene, creating that beautiful blur action we’re after.
Now let’s get practical. When trying to create a blurred background, there are three important settings on your camera to consider: aperture, shutter speed, and ISO. Of these, aperture plays the biggest role in creating bokeh.
Set your aperture as wide as possible- this means choosing the lowest f-number your lens allows. A low f-number increases the size of the lens opening allowing more light into your camera and narrowing down DoF which results in a blurry backdrop.
Next up is shutter speed; if it’s too slow, any movement within frame will blur. Balance this by increasing ISO but beware high ISO can cause graininess.
Lastly remember distance matters! The closer you are to your subject relative to its background; more pronounced is the bokeh effect!
Master these settings on your camera for blurred backgrounds and watch as ordinary shots transform into extraordinary ones!
The Role of Aperture in Achieving Blurred Background
You’ll find that adjusting the aperture plays a key role in achieving that soft, out-of-focus look in your photos. The aperture is part of your lens, and it controls how much light enters your camera. When you adjust the aperture size, you’re changing the depth of field – that’s the amount of your photo that appears sharp.
To get a blurred background (also known as bokeh), you’ll want a shallow depth of field. Achieving this requires opening up your aperture to its widest setting. On your camera, this corresponds to choosing a low f-stop number such as f/1.8 or f/2.8.
Don’t fret if it sounds complicated; with practice, it’ll become second nature! Start by setting your camera mode to Aperture Priority (often labeled ‘A’ or ‘Av’), which lets you control the aperture while the camera adjusts other settings for proper exposure.
Now turn your attention to composing your shot. You see, distance plays into getting good bokeh too: both distance between subject and background and between camera and subject matter. So move closer to what you’re shooting and ensure there’s plenty of space behind them.
Finally, remember this isn’t about blurring everything but rather picking out one element – be it a person, animal or object – to stay crisp against an artistically blurred backdrop.
The Impact of Shutter Speed on Background Blur
While it’s true that aperture greatly influences the depth of field, shutter speed also impacts how much your photo’s background is out of focus. You might be thinking, ‘How does shutter speed affect blur?’ It’s all about motion and time. When you adjust your shutter speed, you’re changing how long the camera sensor is exposed to light.
Usually, a fast shutter speed freezes action while a slow one creates motion blur. But here’s where it gets interesting – this principle can be used creatively to modify background blur too! By using a slower shutter speed in conjunction with camera or subject movement, you can enhance the blurred effect further.
To achieve this, try panning your camera along with moving subjects like cars or birds. Keep your focus on the subject; as they move across your frame and you pan along at a slow shutter speed, the static background becomes blurred due to motion while maintaining clarity on your primary subject.
However, remember that using slower shutter speeds may result in overexposed images if there’s too much light. So balance things out by decreasing your ISO or narrowing down aperture (higher f-stop number).
Here’s another trick – use longer focal lengths for more pronounced blurs since they have narrower angles of view which naturally compresses and blurs backgrounds.
How Distance Affects the Degree of Blur

In addition to shutter speed and aperture, the distance between you and your subject can also significantly influence the degree of blur in your photos. Understanding this principle will give you greater control over your shots’ depth of field and background blur.
You’ve probably seen how objects get blurry when they’re further away from you. That’s because distance affects how light reaches your camera sensor. When an object is closer to your camera, it appears larger in the frame, and therefore more details are captured. As a result, less light is spread out, creating a sharper image.
On the other hand, when your subject is farther away from you, it appears smaller in the frame; fewer details are captured as more light gets scattered across the sensor. This scattering of light creates a softer focus or blur effect.
Now here’s where things get interesting: To achieve that appealing blurred background while keeping your subject sharp (also known as ‘bokeh’), position yourself closer to your subject and keep them far from their background. This increases the relative distance between your subject and their backdrop which enhances that delicious bokeh effect we all love.
Remember this simple rule: The closer you are to your subject and further they are from their background, the more pronounced blur you’ll create in your photo’s backdrop. It’s not just about fiddling with shutter speeds or adjusting apertures; manipulating distances can be an equally effective tool in creating stunning portrait shots with beautifully blurred backgrounds!
Best Bokeh for Blurred Backgrounds
Mastering bokeh isn’t just about understanding distance; it’s an art that involves playing with different elements to achieve a perfect balance of sharpness and softness in your shots. It’s more than just getting that blurred background effect.
To get the best out of Bokeh, you’ve got to understand your camera settings thoroughly. The aperture setting, for instance, is key here. A wide-open aperture (low f-number) can create a very shallow depth-of-field, resulting in a beautifully blurred background or foreground. But remember, don’t go so low on the f-stop that your subject loses clarity – striking a balance is crucial.
Next up is lens choice – and this might surprise you! You’d think any lens could do the job, but nope. Longer focal length lenses like 85mm or 200mm are better at producing pleasing bokeh as compared to wider ones like 24mm or 35mm. So if you’re after that dreamy blur, opt for telephoto lenses when possible.
Then there’s distance between objects: both between the camera and your subject and between your subject and the background. Increasing these distances can help enhance bokeh effect too.
Lastly, consider lighting conditions – because without light there wouldn’t be photography at all! Play around with light sources behind your subjects for some magical effects – think fairy lights or cityscapes at night.
Don’t forget though: practice makes perfect! Experiment with different combinations of these factors until you nail down what works best for you in creating stunning Bokeh-infused photos.
The Role of Lens Selection in Background Blur
Choosing the right lens plays a pivotal role in achieving that dreamy, out-of-focus effect in your photos. Lens selection can dramatically affect the quality and intensity of the bokeh, or background blur, in your images.
Firstly, consider a lens with a wide aperture – this is crucial for obtaining blurred backgrounds. An aperture of f/2.8 or wider will allow more light into your camera sensor and create a shallow depth of field, which is perfect for blurring out distracting elements behind your subject.
Secondly, you’ll want to think about focal length. Longer lenses such as 85mm or 200mm produce more pronounced bokeh compared to shorter lenses like 35mm or 50mm. So if it’s an intense blur you’re after, reach for that telephoto lens!
Lastly, don’t overlook the quality of the lens itself. Higher-quality lenses often have better optics and construction that contribute to smoother and more pleasing bokeh effects.
Remember though, while these factors are essential in creating beautiful out-of-focus backgrounds, they aren’t everything. You’ll also need to consider other elements such as distance from subject to background and lighting conditions – but that’s content for another discussion!
Importance of Manual Mode for Capturing Blurred Backgrounds
You’ll find that utilizing manual mode can significantly impact the depth of field in your images, providing you with more control over the level of blur. In manual mode, you’re able to adjust both the aperture and shutter speed independently – two critical factors that influence depth of field and hence, background blur.
Let’s break it down. Aperture refers to how wide your lens opens when a picture is taken. A wider aperture (lower f-stop number) lets in more light and creates a shallow depth of field – perfect for those creamy blurred backgrounds you’re aiming for. So go ahead, dial down that f-number!
Meanwhile, shutter speed controls how long your camera sensor is exposed to light. While it doesn’t directly affect the degree of blur, it plays an important role in exposure balance when manipulating aperture settings. If you’re shooting in bright conditions with a wide-open aperture, slow down your shutter speed to avoid overexposing your shot.
But remember, balance is key here! Striking a perfect compromise between these two settings can be tricky – especially if you’re new to manual mode. You’ll need practice but rest assured every bit will be worth it once you see those stunning results.
Tricks to Enhance Background Blur Using Lighting

Let’s dive into how smart use of lighting can further enhance the depth of field in your photos. Lighting, when used strategically, not only illuminates your subject but also contributes significantly to blurring out the background. It all boils down to understanding and manipulating light sources effectively.
Firstly, you’ve got to consider backlighting. This is when the primary source of light is behind your subject, creating a beautiful halo effect around them while leaving the backdrop in shadows. By reducing exposure compensation on your camera or manually adjusting shutter speed and aperture, you’re able to darken that background further enhancing its blur.
Next up is using bokeh lights for a visually appealing blurred backdrop. Bokeh refers to the aesthetic quality of out-of-focus points of light in an image. You can achieve this by placing small light sources like fairy lights or candles behind your subject. The larger the aperture (smaller f-number), the more pronounced these blurry circles of light will be.
Lastly, think about contrast between your subject and background lighting conditions. A well-lit subject against a poorly lit backdrop often results in a nice separation due to differential focus; hence producing a pleasing blur effect.
Remember though, while it’s great to experiment with different lighting techniques, they aren’t substitutes for correct focusing or proper camera settings – they simply supplement them! So go ahead and test these tricks out along with manual mode shooting and watch as you create some stunning images with beautifully blurred backgrounds.
Post-Processing Techniques for Enhancing Background Blur
After you’ve taken your shot, there’s also a range of post-processing techniques that can be used to further enhance the depth of field effect. It’s not just about the camera settings and lighting; it’s how you use your editing tools too.
Firstly, consider using blur tools in your chosen photo editing software. You might be familiar with Photoshop or Lightroom; both have capabilities for this. The key here is subtlety. Don’t go overboard with applying blur, as it may look unnatural. Instead, carefully select areas around your subject and apply a gentle blur to them.
Next up is adjusting contrast. Increasing contrast between your subject and the background can help to separate them visually, enhancing the perception of depth in your image. This doesn’t mean cranking up contrast all over – instead focus on subtly darkening the background while keeping the subject well-lit.
Another useful technique is vignetting – adding a slight shadow around the edges of your image to draw attention towards its centre. This creates an optical illusion that makes subjects appear more three-dimensional and set apart from their backgrounds.
Lastly, don’t forget about colour grading – tweaking hues subtly can contribute to creating depth by separating elements based on colour tones.
In short: play around! Experiment with different combinations of these techniques until you find what works best for each specific photo. Remember though, less is often more when it comes to post-processing; keep things subtle and aim for natural-looking results.
Practical Examples and Exercises for Perfecting Blurred Backgrounds
Now, we’re going to dive into some practical examples and exercises that’ll help you enhance your depth of field skills.
Let’s start with a simple exercise: pick an object in your room and position it about ten feet away from a wall. Adjust the settings on your camera to create a shallow depth of field. Experiment with different apertures, but remember, lower f-stop numbers will give you more blur.
Next, try varying distances between your subject, camera, and background. The closer you are to the subject and further from the background, the more pronounced the blur effect will be. Vice versa applies too; moving back from your subject while keeping them close to the backdrop will reduce blurring.
Another useful tip is shooting through objects like leaves or fences for an intriguing foreground blur which also enhances background defocus. This technique can add depth and complexity to your image.
Lastly, let’s talk about using lenses wisely. Longer focal lengths will produce stronger background blur than wide-angle ones at equivalent apertures. Therefore consider investing in prime lenses such as 50mm or 85mm ones as they often allow larger apertures resulting in better blurred backgrounds.
Remember these are just starting points; photography is all about experimentation! Keep adjusting variables until you find what works best for you and produces images that suit your style.

Conclusion
In conclusion, mastering the art of a blurred background elevates your photography game. It’s all about understanding and manipulating aperture, shutter speed, distance, bokeh effects, manual mode usage, lighting tricks, and post-processing techniques.
Practice makes perfect, so keep experimenting with these settings. Remember to always capture in raw format for maximum flexibility during editing.
If you wish to learn more about photography, here is the link to our guides!


