How to Change Aperture on Sony A7iii
Hi there, I’m a seasoned Sony A7iii user and I’m here to share my know-how on adjusting aperture settings. It’s a key aspect of photography that can dramatically enhance your shots. Whether you’re a novice or a pro, understanding how to control this feature on your Sony A7iii is essential. So, let’s dive into this simple guide to changing aperture and get you on the path to capturing stunning, high-quality images.
Understanding the Basics of Aperture
Before we dive into how to change the aperture on Sony A7iii, it’s important that I make sure you’ve got a solid grasp on the basics of aperture, because without that, you’ll be shooting in the dark.
The concept of aperture dates back to the earliest days of photography. It’s essentially a hole within a lens that allows light to travel into the camera body. Over time, photographers learned to manipulate aperture to control the amount of light entering the camera, thus influencing the brightness of the resulting image, an aspect known as light transmission.
Aperture also has a direct impact on the depth of field, which is the range within a photo that appears sharp. A smaller aperture (a higher f-stop number) will give you a larger depth of field, meaning more elements in the photo will be in focus. On the contrary, a larger aperture (a lower f-stop number) will provide a smaller depth of field, resulting in fewer elements in focus, and a blurred background often referred to as the ‘bokeh effect’.
Now, let’s talk about aperture versus ISO. While both are crucial for determining the exposure of a photo, they serve different purposes. Aperture controls the amount of light that enters the camera, while ISO determines how sensitive the camera’s sensor is to that light. Together, along with shutter speed, they form the exposure triangle, a fundamental concept in photography.
Understanding these elements will be crucial as we delve into how to adjust the aperture on your Sony A7iii.
The Role of Aperture in Photography
Although it’s often overlooked, I can’t stress enough how crucial aperture is in photography, as it controls the amount of light entering the lens and impacts the depth of field, dramatically influencing the final outcome of a photo. With the Sony a7iii, you can manipulate aperture to achieve the desired light control and depth of field, thus enhancing the lens speed and overall image quality.
Aperture’s impact on photography can be illustrated by its role in the bokeh effect. This is a popular aesthetic in photography where the background is intentionally blurred to make the subject stand out. With the Sony a7iii, you can easily achieve this effect by adjusting the aperture to a lower f-stop number, which widens the lens opening, allowing more light and creating a shallow depth of field.
To adjust the aperture on the Sony a7iii, you need to turn the control wheel located near the shutter button. If you’re in Aperture Priority mode (A mode), the control wheel will directly adjust the aperture. In Manual mode (M mode), you can press the down button on the control wheel and then turn the wheel to adjust the aperture. Remember, a lower f-number means a larger aperture (more light, shallower depth of field), and a higher f-number means a smaller aperture (less light, deeper depth of field).
Understanding these technical aspects of aperture and how to control it on your Sony a7iii will greatly enhance your photography skills, allowing you to manipulate light, depth of field, and lens speed to create stunning images.
Navigating the Sony A7iii Control Layout
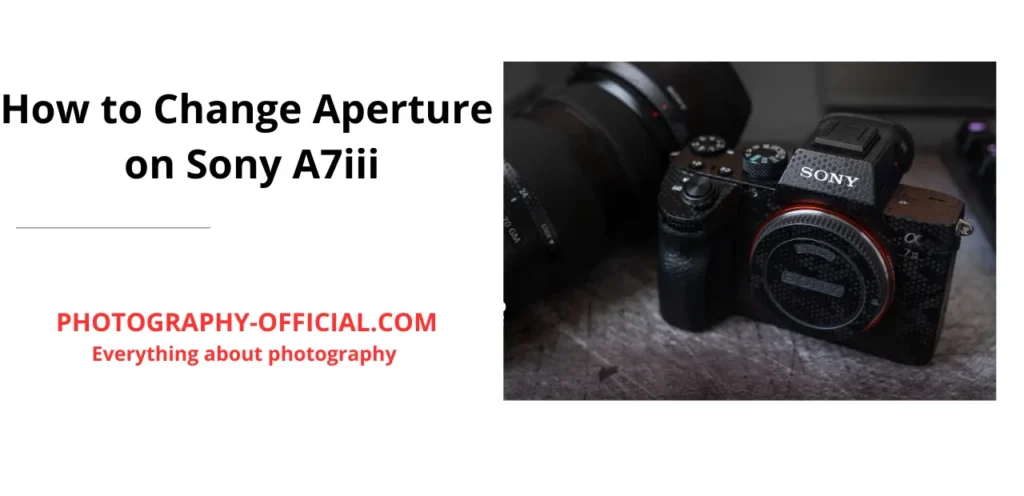
I’m finding the Sony A7iii’s control layout quite intuitive, especially when it comes to adjusting the aperture settings. The button functions are logically placed and easy to access, providing a seamless user experience. The top dial, located near the shutter button, is used to change the aperture. It’s as simple as turning it right or left to adjust the f-stop.
This camera’s control customization is another plus, providing flexibility to adapt to individual shooting styles. By pressing the Fn button, you’ll be presented with the Function Menu, where you can allocate commonly used settings to specific buttons. For instance, you can assign the aperture adjustment to a different dial if you find that more comfortable.
It’s not just about the hardware, though. Layout familiarity extends to the menu systems as well. The Sony A7iii features an extensive menu, which can be daunting at first. But with consistent use and menu exploration, it becomes second nature. The key is to invest time in understanding what each setting does and how it impacts your photography.
Lastly, don’t forget about the display settings. The electronic viewfinder and the LCD screen can show your current aperture, making it easy to monitor and adjust as needed. You can customize the display information to your preference.
Step-by-Step Guide to Changing Aperture on Sony A7iii
Now that we’ve mastered the control layout, let’s delve into a step-by-step guide to changing the aperture on your Sony A7iii, and we’ll also discuss how each adjustment impacts your final image.
First, switch your camera to Manual Mode. This allows you to take full control over the Exposure Triangle – aperture, shutter speed, and ISO. Use the control dial located near the shutter button to adjust the aperture value. Turn the dial left for a lower f-stop number, which widens the aperture, or right for a higher f-stop number, narrowing the aperture. Remember, a wider aperture lets more light in, impacting the exposure and depth of field.
Aperture effects are crucial in creating the desired look in your photos. A wide aperture (low f-stop number) creates a shallow depth of field, blurring the background and focusing on the subject. This is ideal for portraits and close-up shots. A narrow aperture (high f-stop number), on the other hand, keeps more of the scene in focus, which is excellent for landscapes.
Lens choices also play a role in aperture control. Some lenses have a wider maximum aperture than others. For instance, a lens with a maximum aperture of f/1.4 allows more light in and can create a shallower depth of field than a lens that maxes out at f/4.
Practice changing aperture on your Sony A7iii to see how it affects your images. Experiment with different settings and lenses to find your style and enhance your photography skills.
Tips for Choosing the Right Aperture Settings
I’ve got some handy tips for choosing the right aperture settings, and they’ll definitely help you nail that perfect shot. Let’s start with understanding the aperture impact on your Sony A7iii. Aperture controls the amount of light that enters your lens. A wider aperture (smaller f-number) allows more light in, ideal for low-light situations. Conversely, a narrower aperture (larger f-number) lets in less light, perfect for brighter environments.
Let’s move onto lens selection. It’s crucial to know that your lens can significantly impact your aperture range. Prime lenses usually offer wider apertures than zoom lenses. For instance, a prime lens like the Sony FE 50mm F1.8 allows a maximum aperture of f/1.8, permitting more light in, thus enabling better shots in darker conditions.
Lighting considerations are another key aspect. You’ve got to assess the lighting in your environment before setting your aperture. If you’re shooting in bright conditions, a smaller aperture (higher f-number) will prevent overexposure. Conversely, in darker environments, a wider aperture (lower f-number) will help you capture well-exposed shots.
Depth of field exploration is a creative aspect of aperture usage. A wider aperture results in a shallow depth of field, keeping your subject in focus while blurring the background. This is great for portraits. A smaller aperture, on the other hand, gives a deep depth of field, keeping both your subject and background in focus, ideal for landscape photography.
Troubleshooting Common Aperture Adjustment Issues on Sony A7iii
In our discussion about troubleshooting common aperture adjustment issues on Sony A7iii, let’s dive into the perplexing issue of aperture not responding to adjustments, which can be quite a headache for photographers. No doubt, aperture malfunctions can upset the balance of your images, affecting depth of field, and overall picture quality.
Sometimes, the problem lies in firmware updates. I’ve found that outdated firmware can lead to several issues, including aperture not adjusting as expected. Therefore, ensure you’ve installed the latest firmware updates for both your Sony A7iii body and lens.
Focus issues can also contribute to your aperture woes. If your camera is struggling to focus, it might not let you adjust the aperture. Try switching to manual focus mode, and see if the aperture adjustment responds. If it does, then you know your autofocus was the culprit.
Now, let’s talk about lens compatibility. If you’re using a third-party lens, you might run into some manual mode struggles. Not all lenses communicate well with the Sony A7iii, especially in manual mode. Make sure you’re using a lens that’s compatible with your camera.
Lastly, if all else fails, try a factory reset. This isn’t the most convenient solution, but it’s a surefire way to solve most software-related issues. Remember, photography is about troubleshooting and problem-solving. The more you understand your gear and its quirks, the better you’ll be at capturing those perfect shots.
In the end, I can only recommend you the text Best Equipment Needed For Sony A7iii in 2023.


